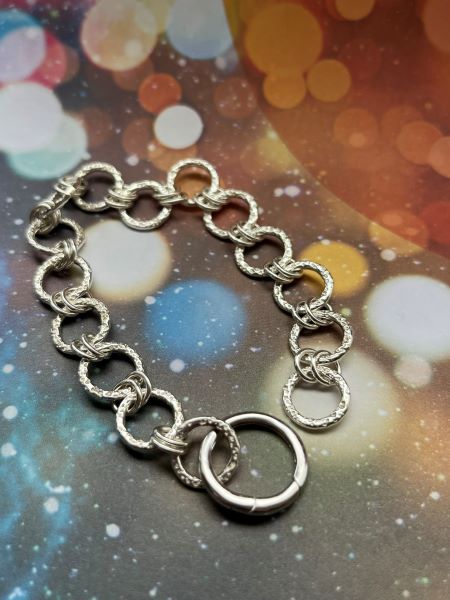
Mastering the technique of closing and soldering jump rings is a fantastic skill for any jeweller. Sterling silver chain making has a rich history dating back to ancient times, with evidence of early silver jewellery found in Mesopotamia around 3000 BCE. During the medieval period, silversmiths in Europe honed their craft, creating intricate chain designs for royalty and the elite. Using a ‘spring gate’ clasp bring a contemporary feel to this classic bracelet design.
Step 1
Decide on the length you would like your bracelet to be. Using 15 x 10mm jump rings and 28 x 6mm jump rings and 1 x 16mm spring gate clasp will make a 7-inch bracelet.

Step 2
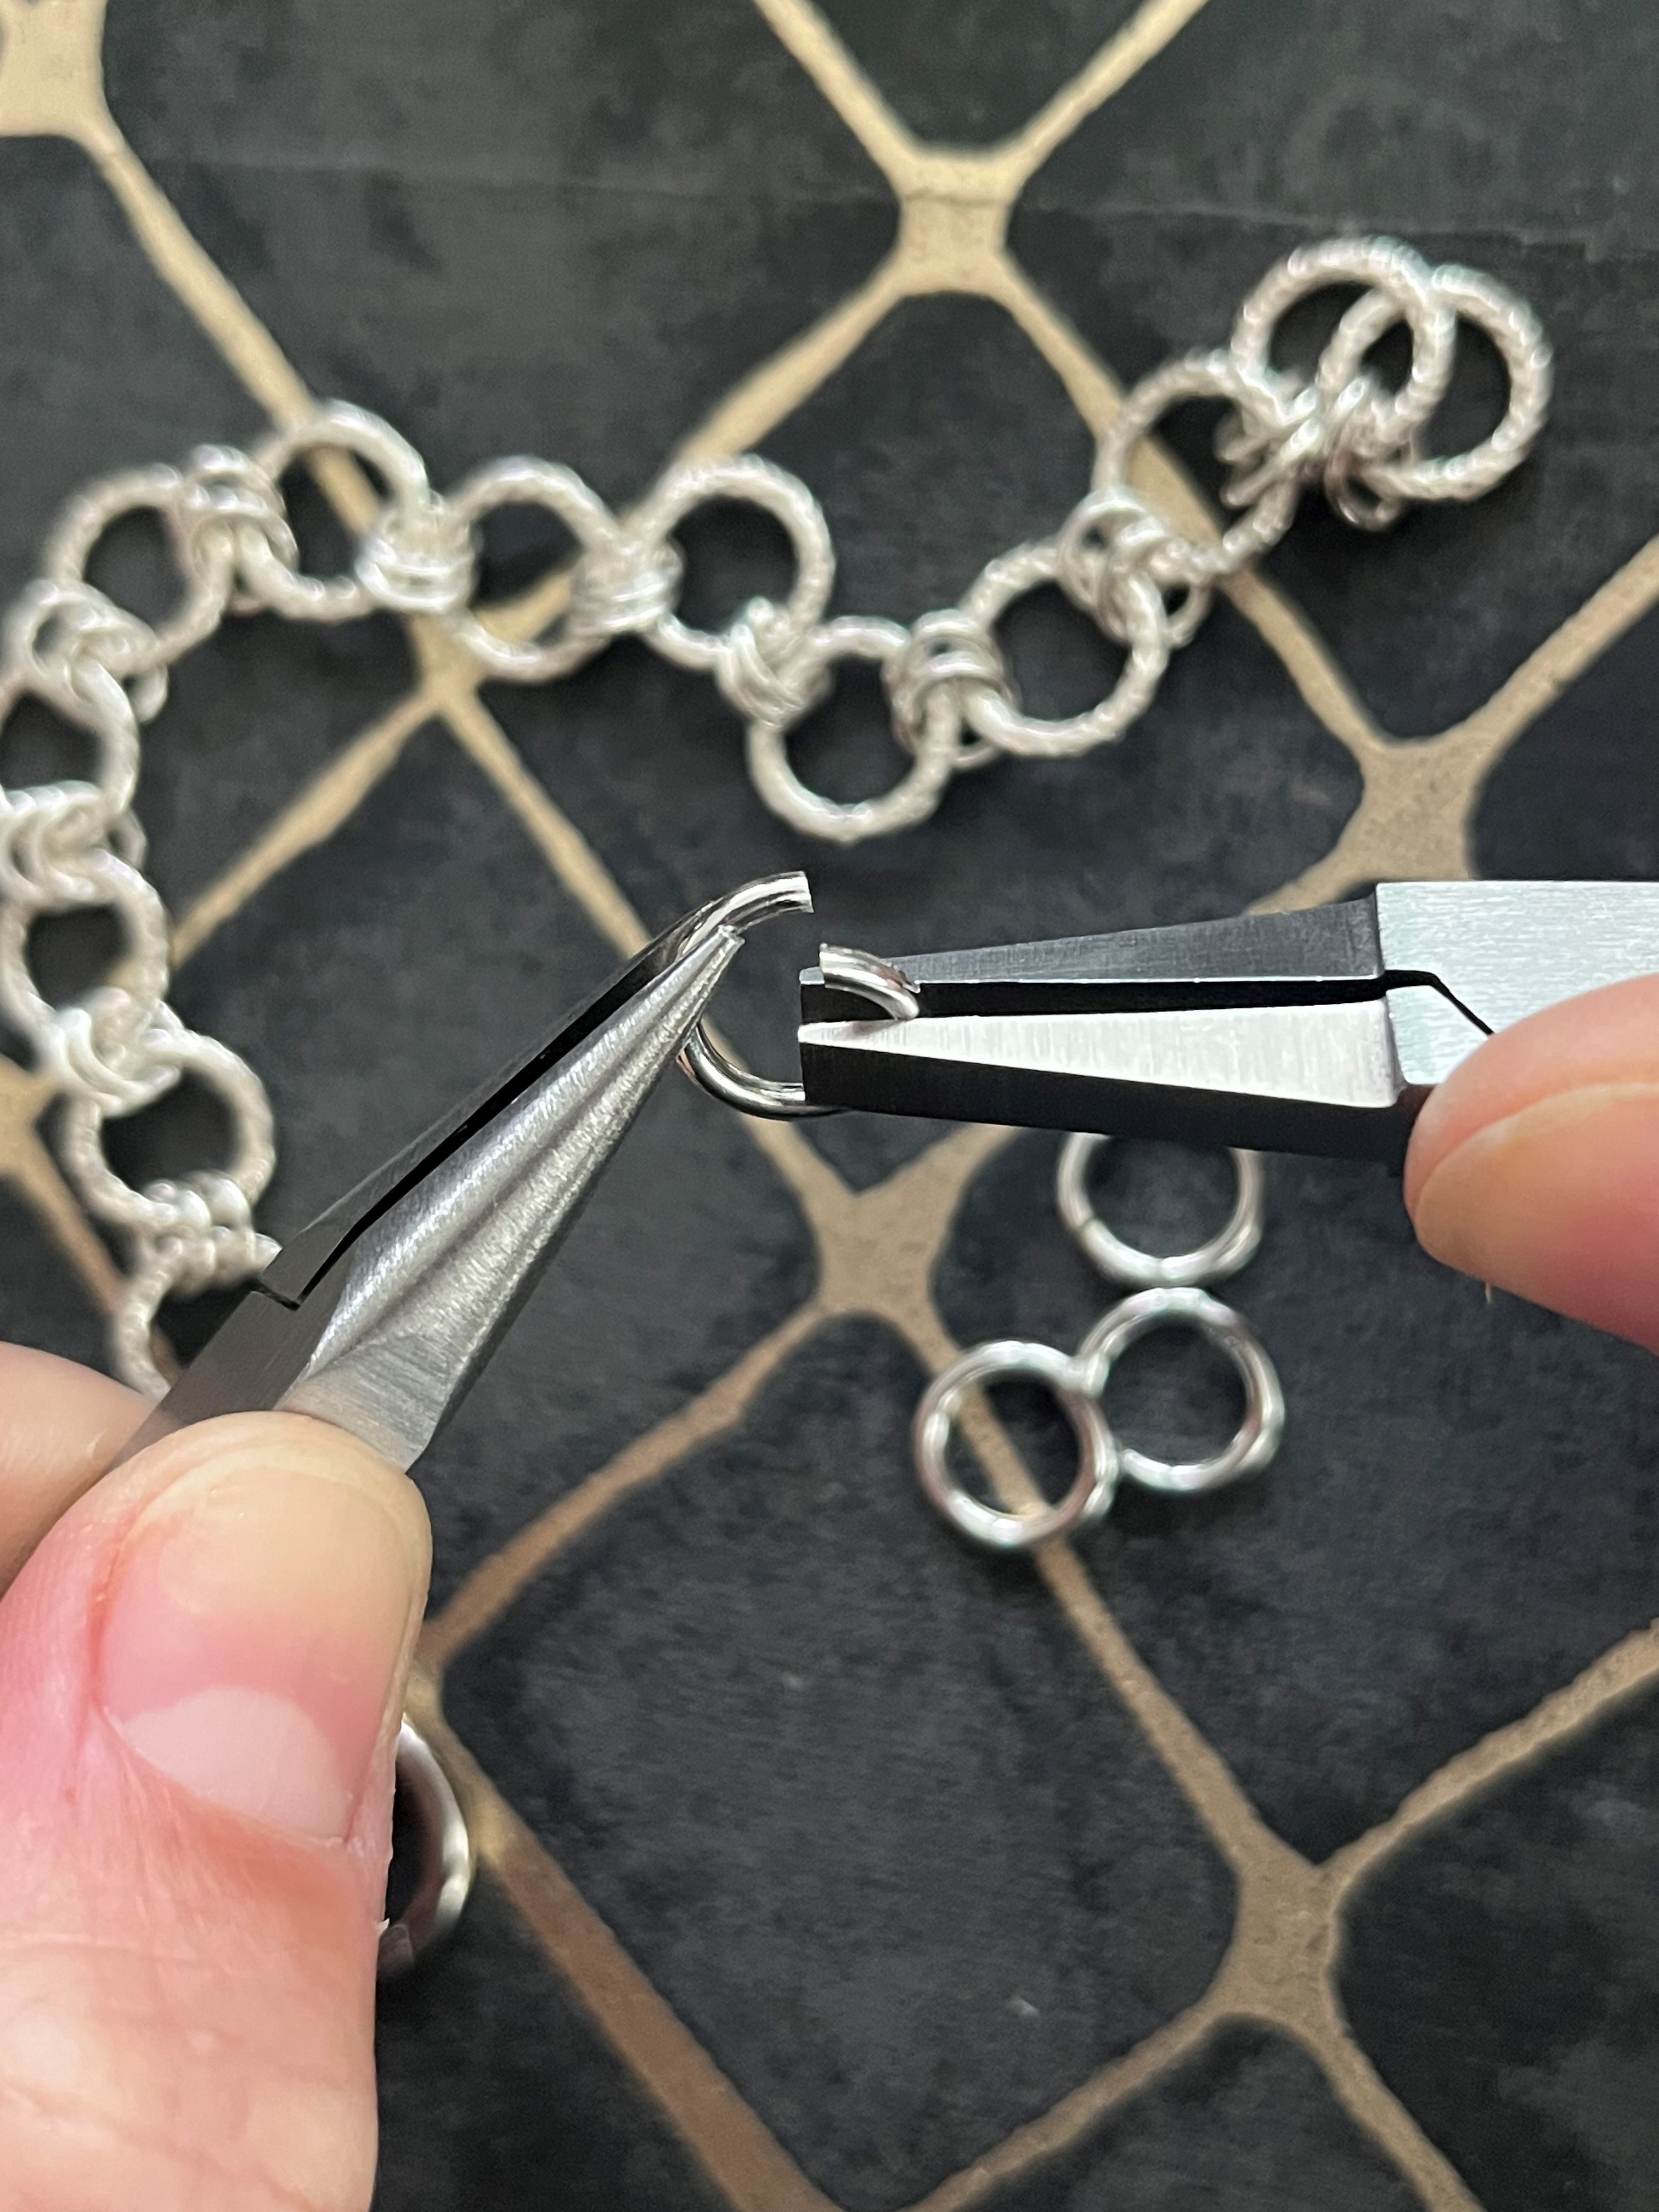
Close each 10 mm jump ring by using 2 sets of pliers (snipe, chain or flat nose pliers). Grip one side of the jump ring with 1 pair of pliers and the other side with the 2nd pair of pliers. Twist the pliers inwards to close the jump ring ends together and ensure they meet and stay flush.
Note: It’s really important that the jump ring ends align so they touch and the ends are flush.

Step 3
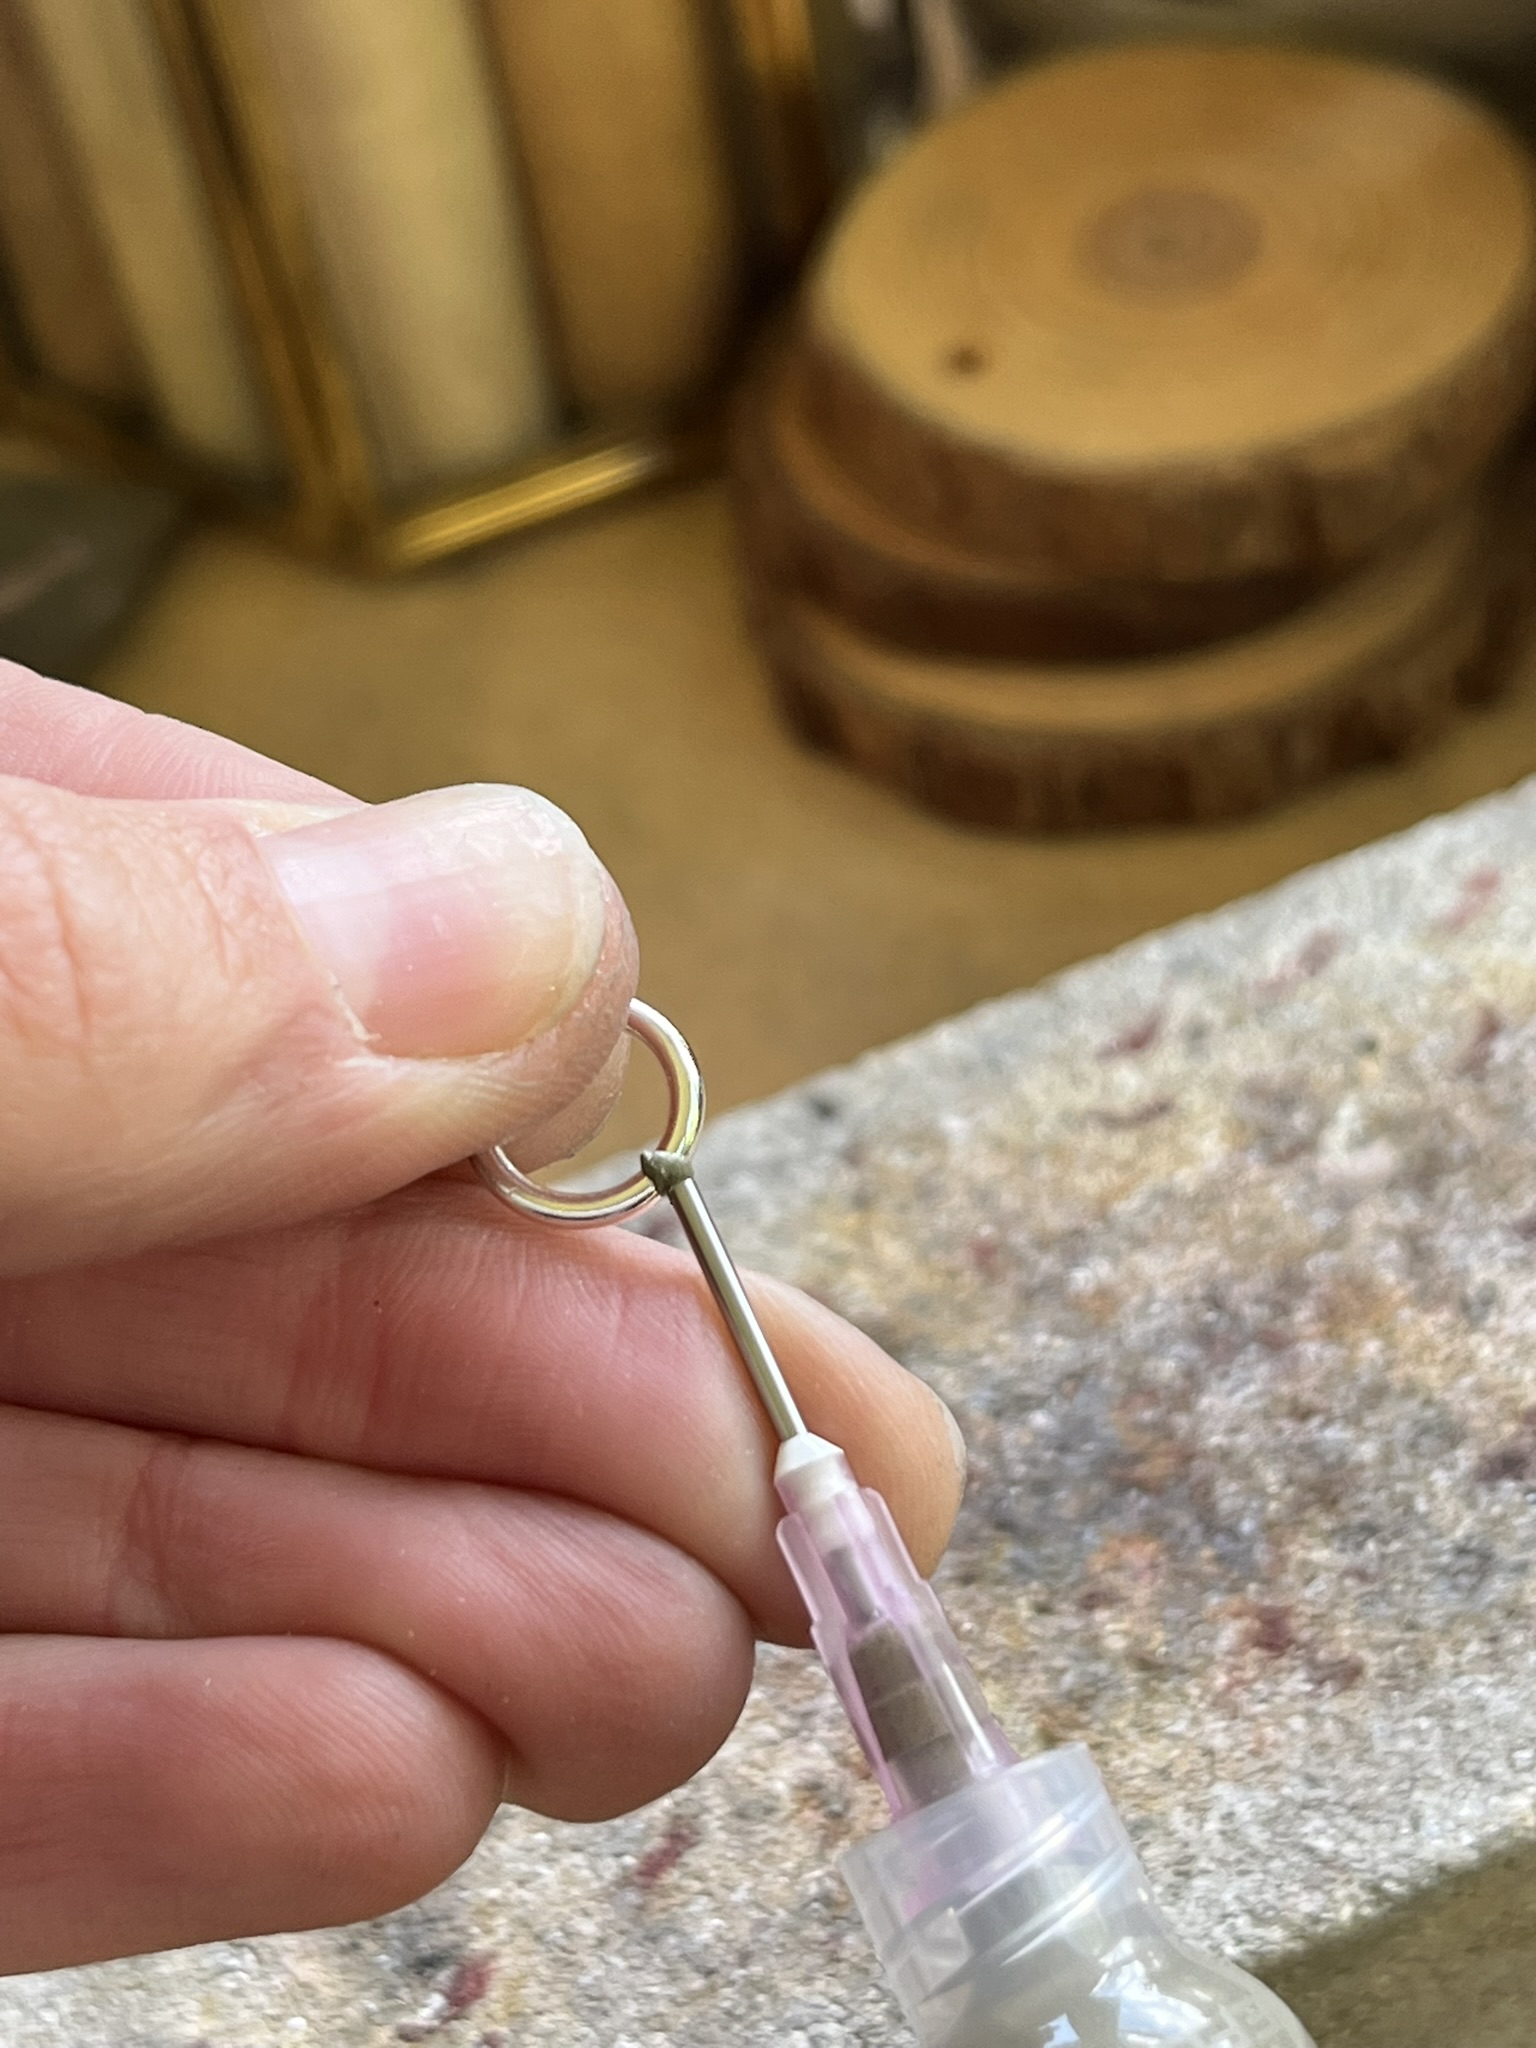
Place the jump rings on a soldering block and add a small amount of solder paste to each join of the jump ring.
Heat the jump ring evenly using a hand blow torch until the solder melts and flows. Leave the jump rings to cool for 1 minute before individually picking each jump ring up using tweezers, quenching (cooling) in water and adding to a warm pickle solution for 10 minutes or until clean. Remove the jump ring from the pickle using plastic tweezers and rinse with water to remove any excess pickle.
Note: You can use hard/med or easy solder paste to solder. Best practice would be to use hard.

Step 4
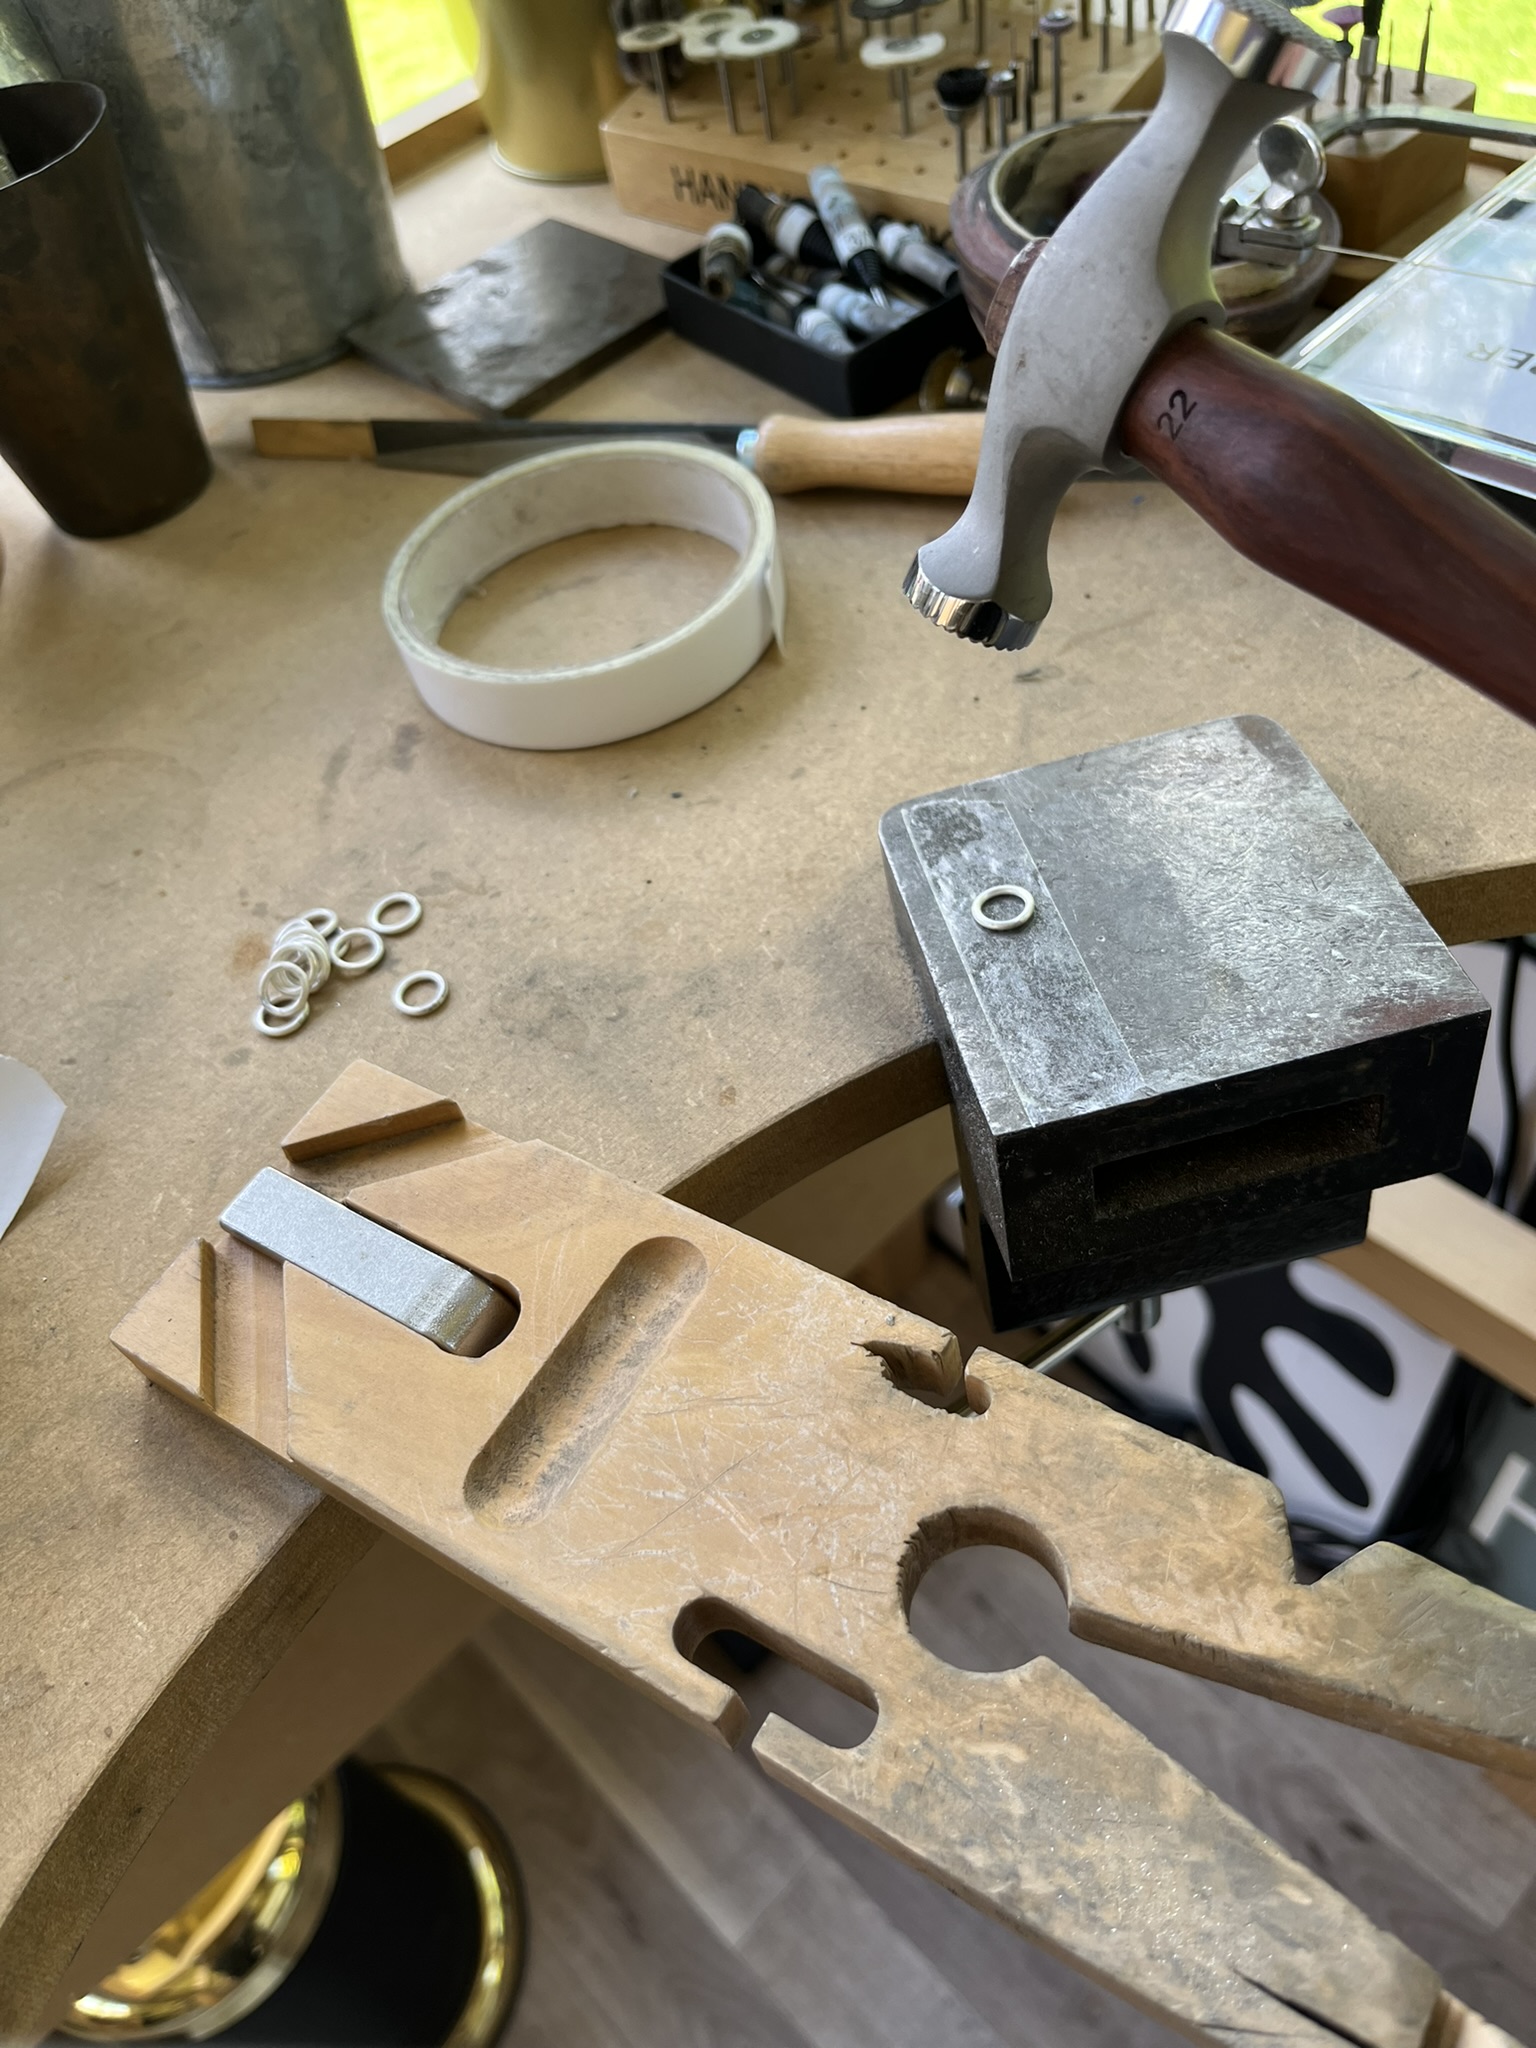
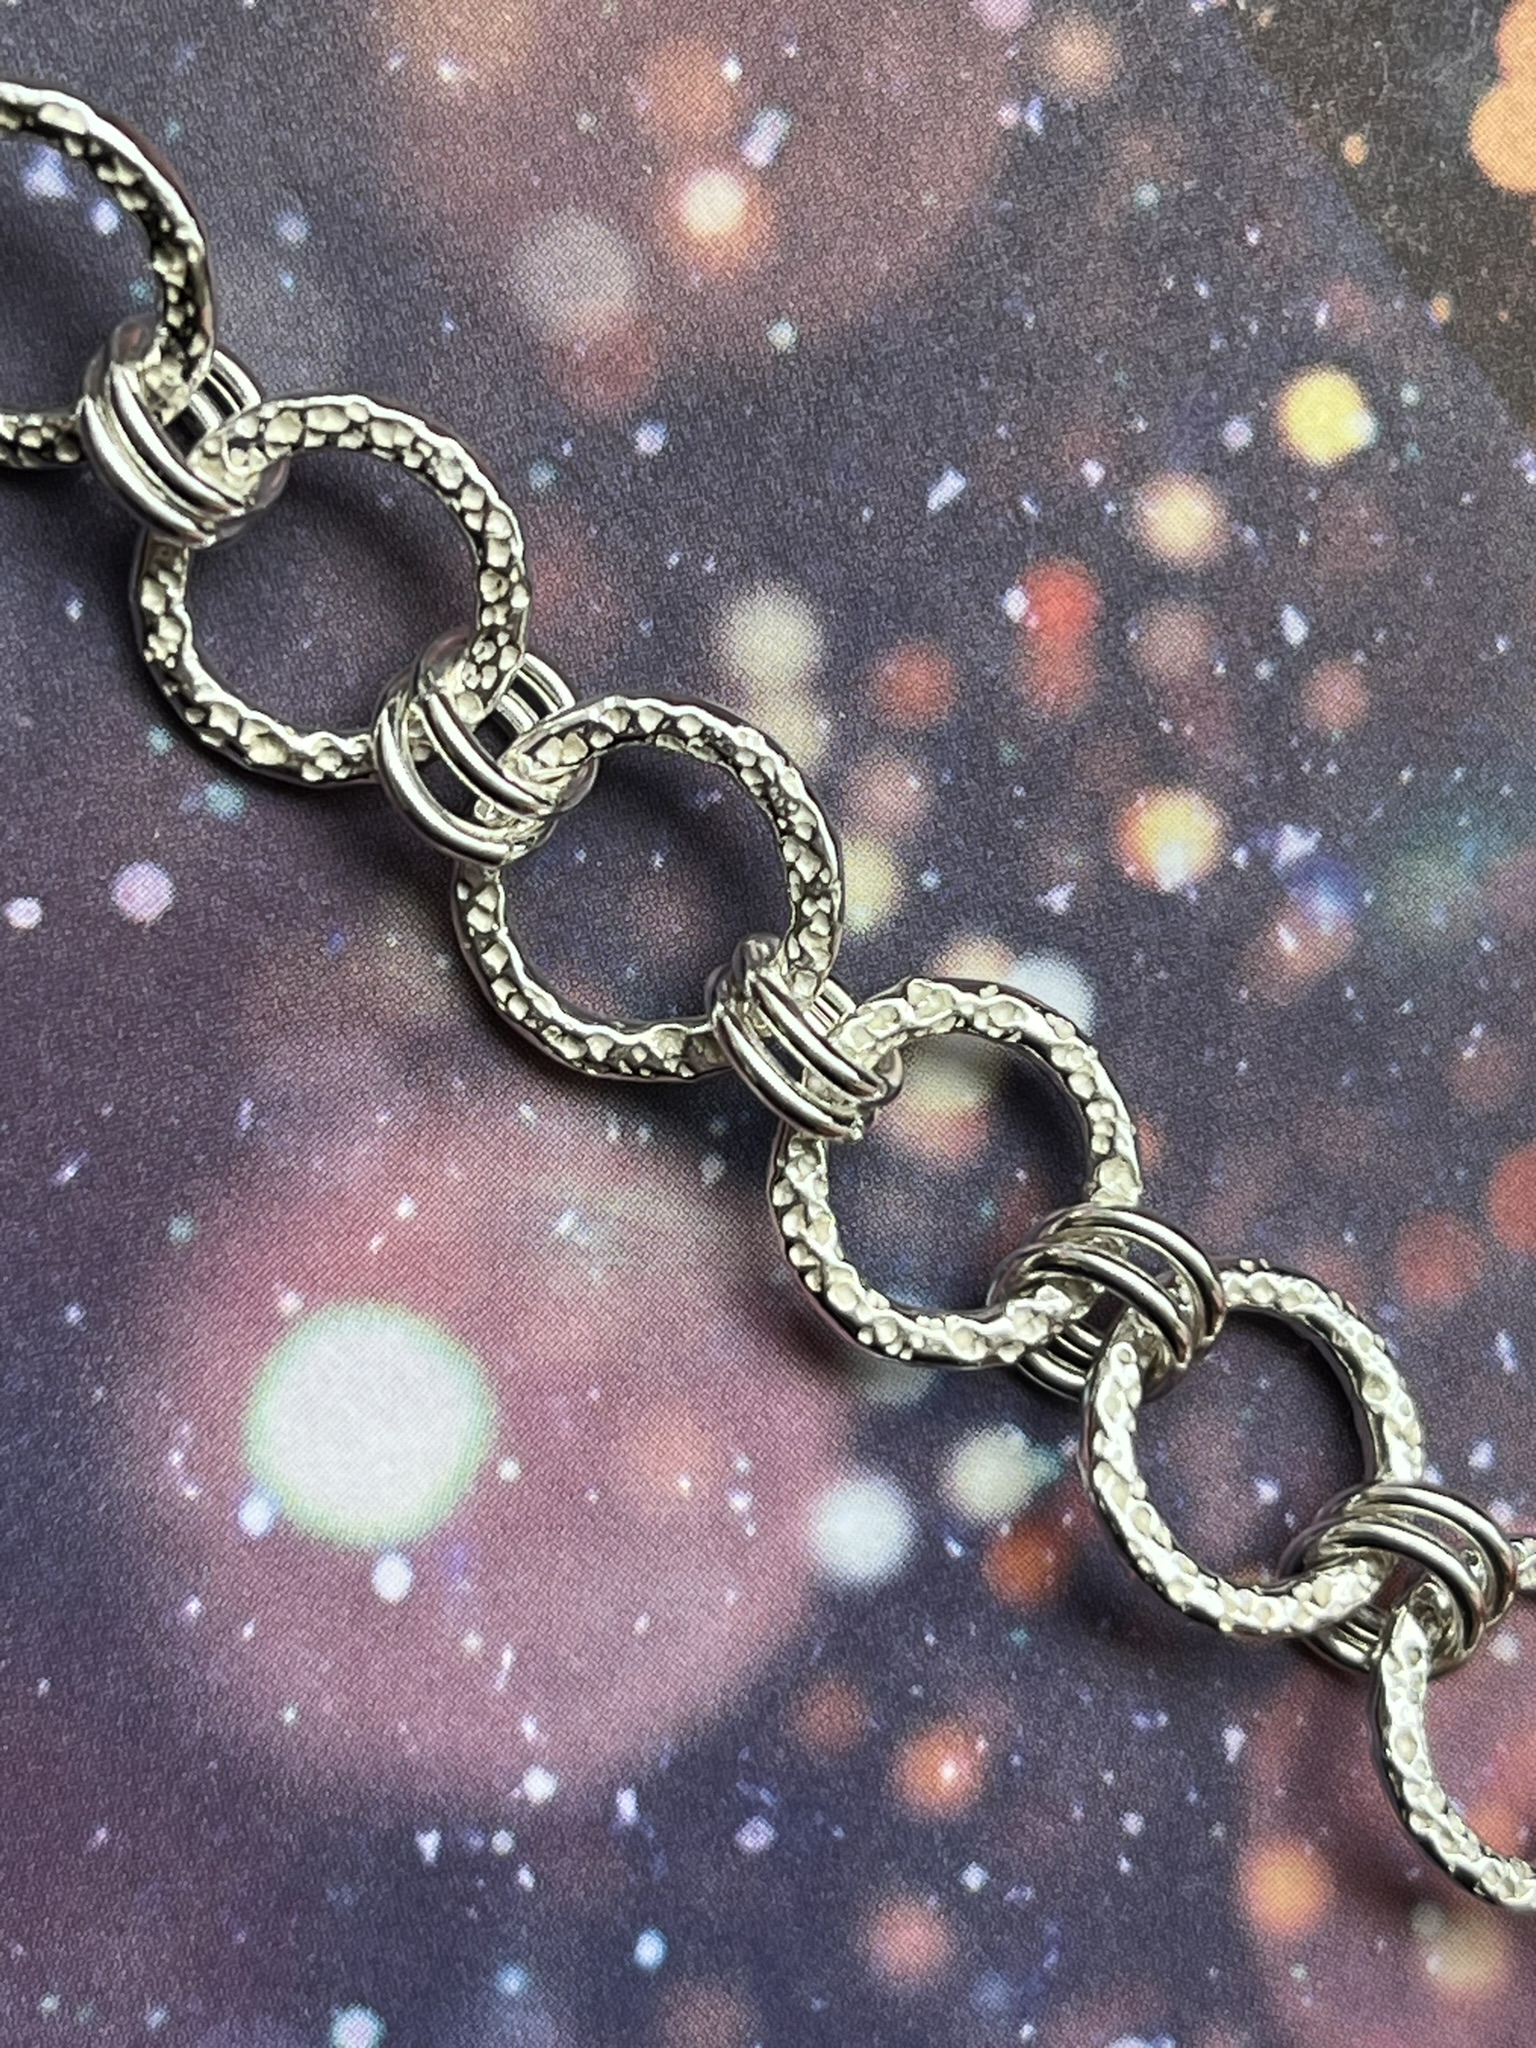
When clean and dry place a jump ring on a steel block on a stable surface. You may wish to use double sided tape to hold the jump ring in place. Hit the jump ring with a craft or texturing hammer to add texture. Repeat this on all the jump rings.

Step 5
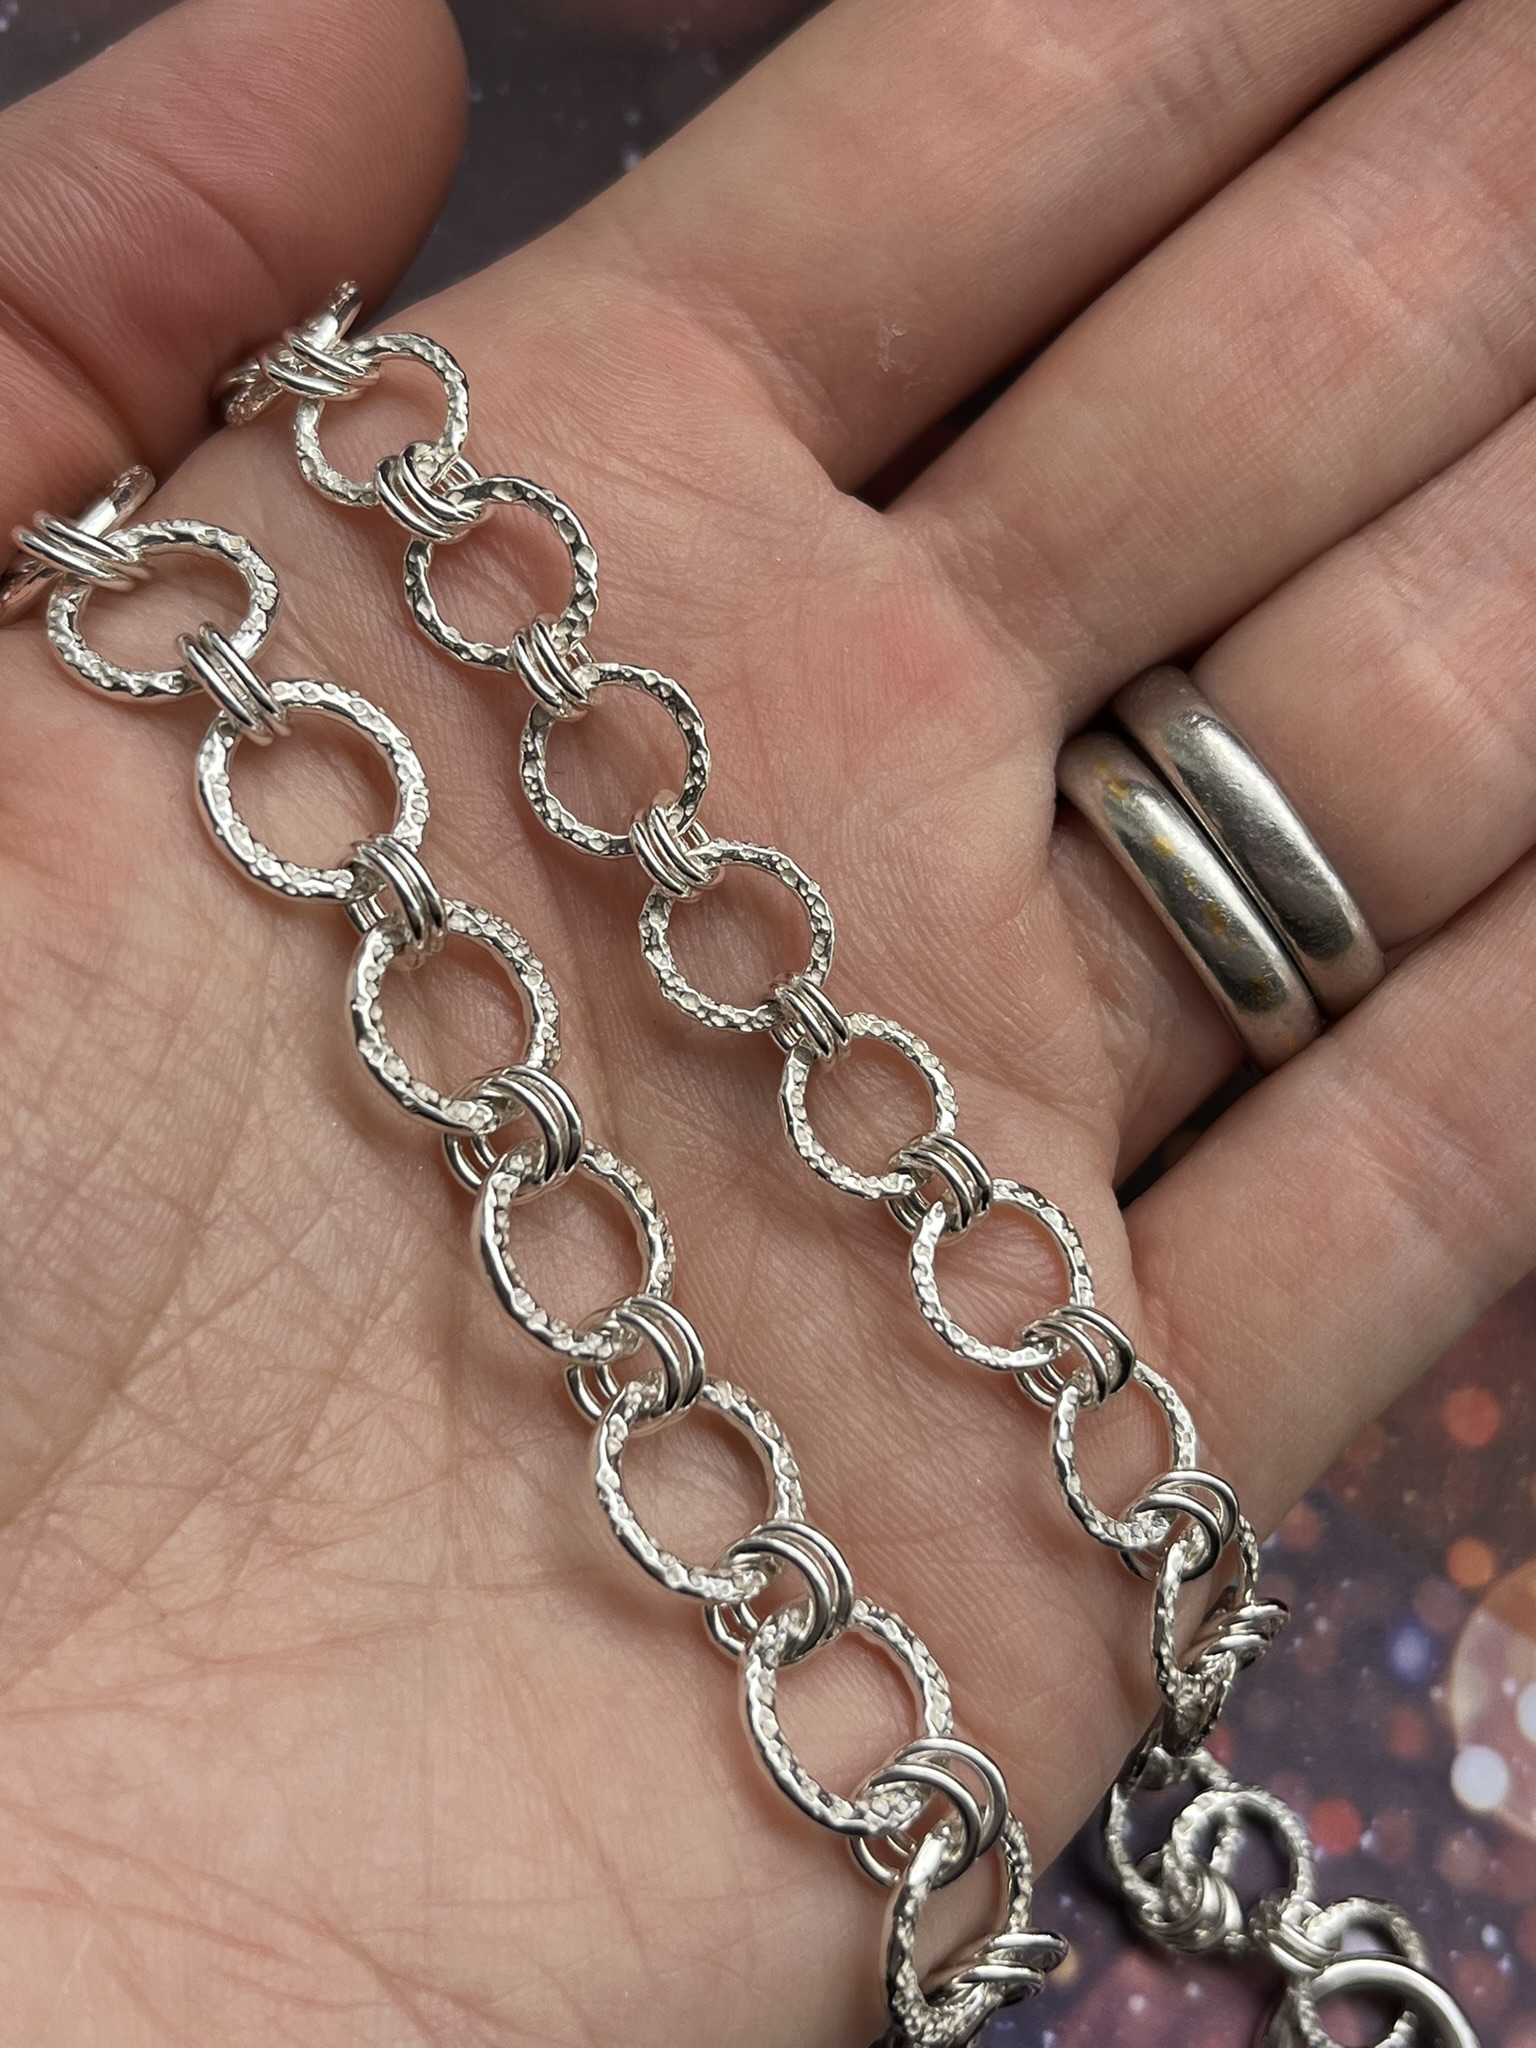
To make the chain the 10mm jumprings need to be joined together using 2 x 6mm jumprings.
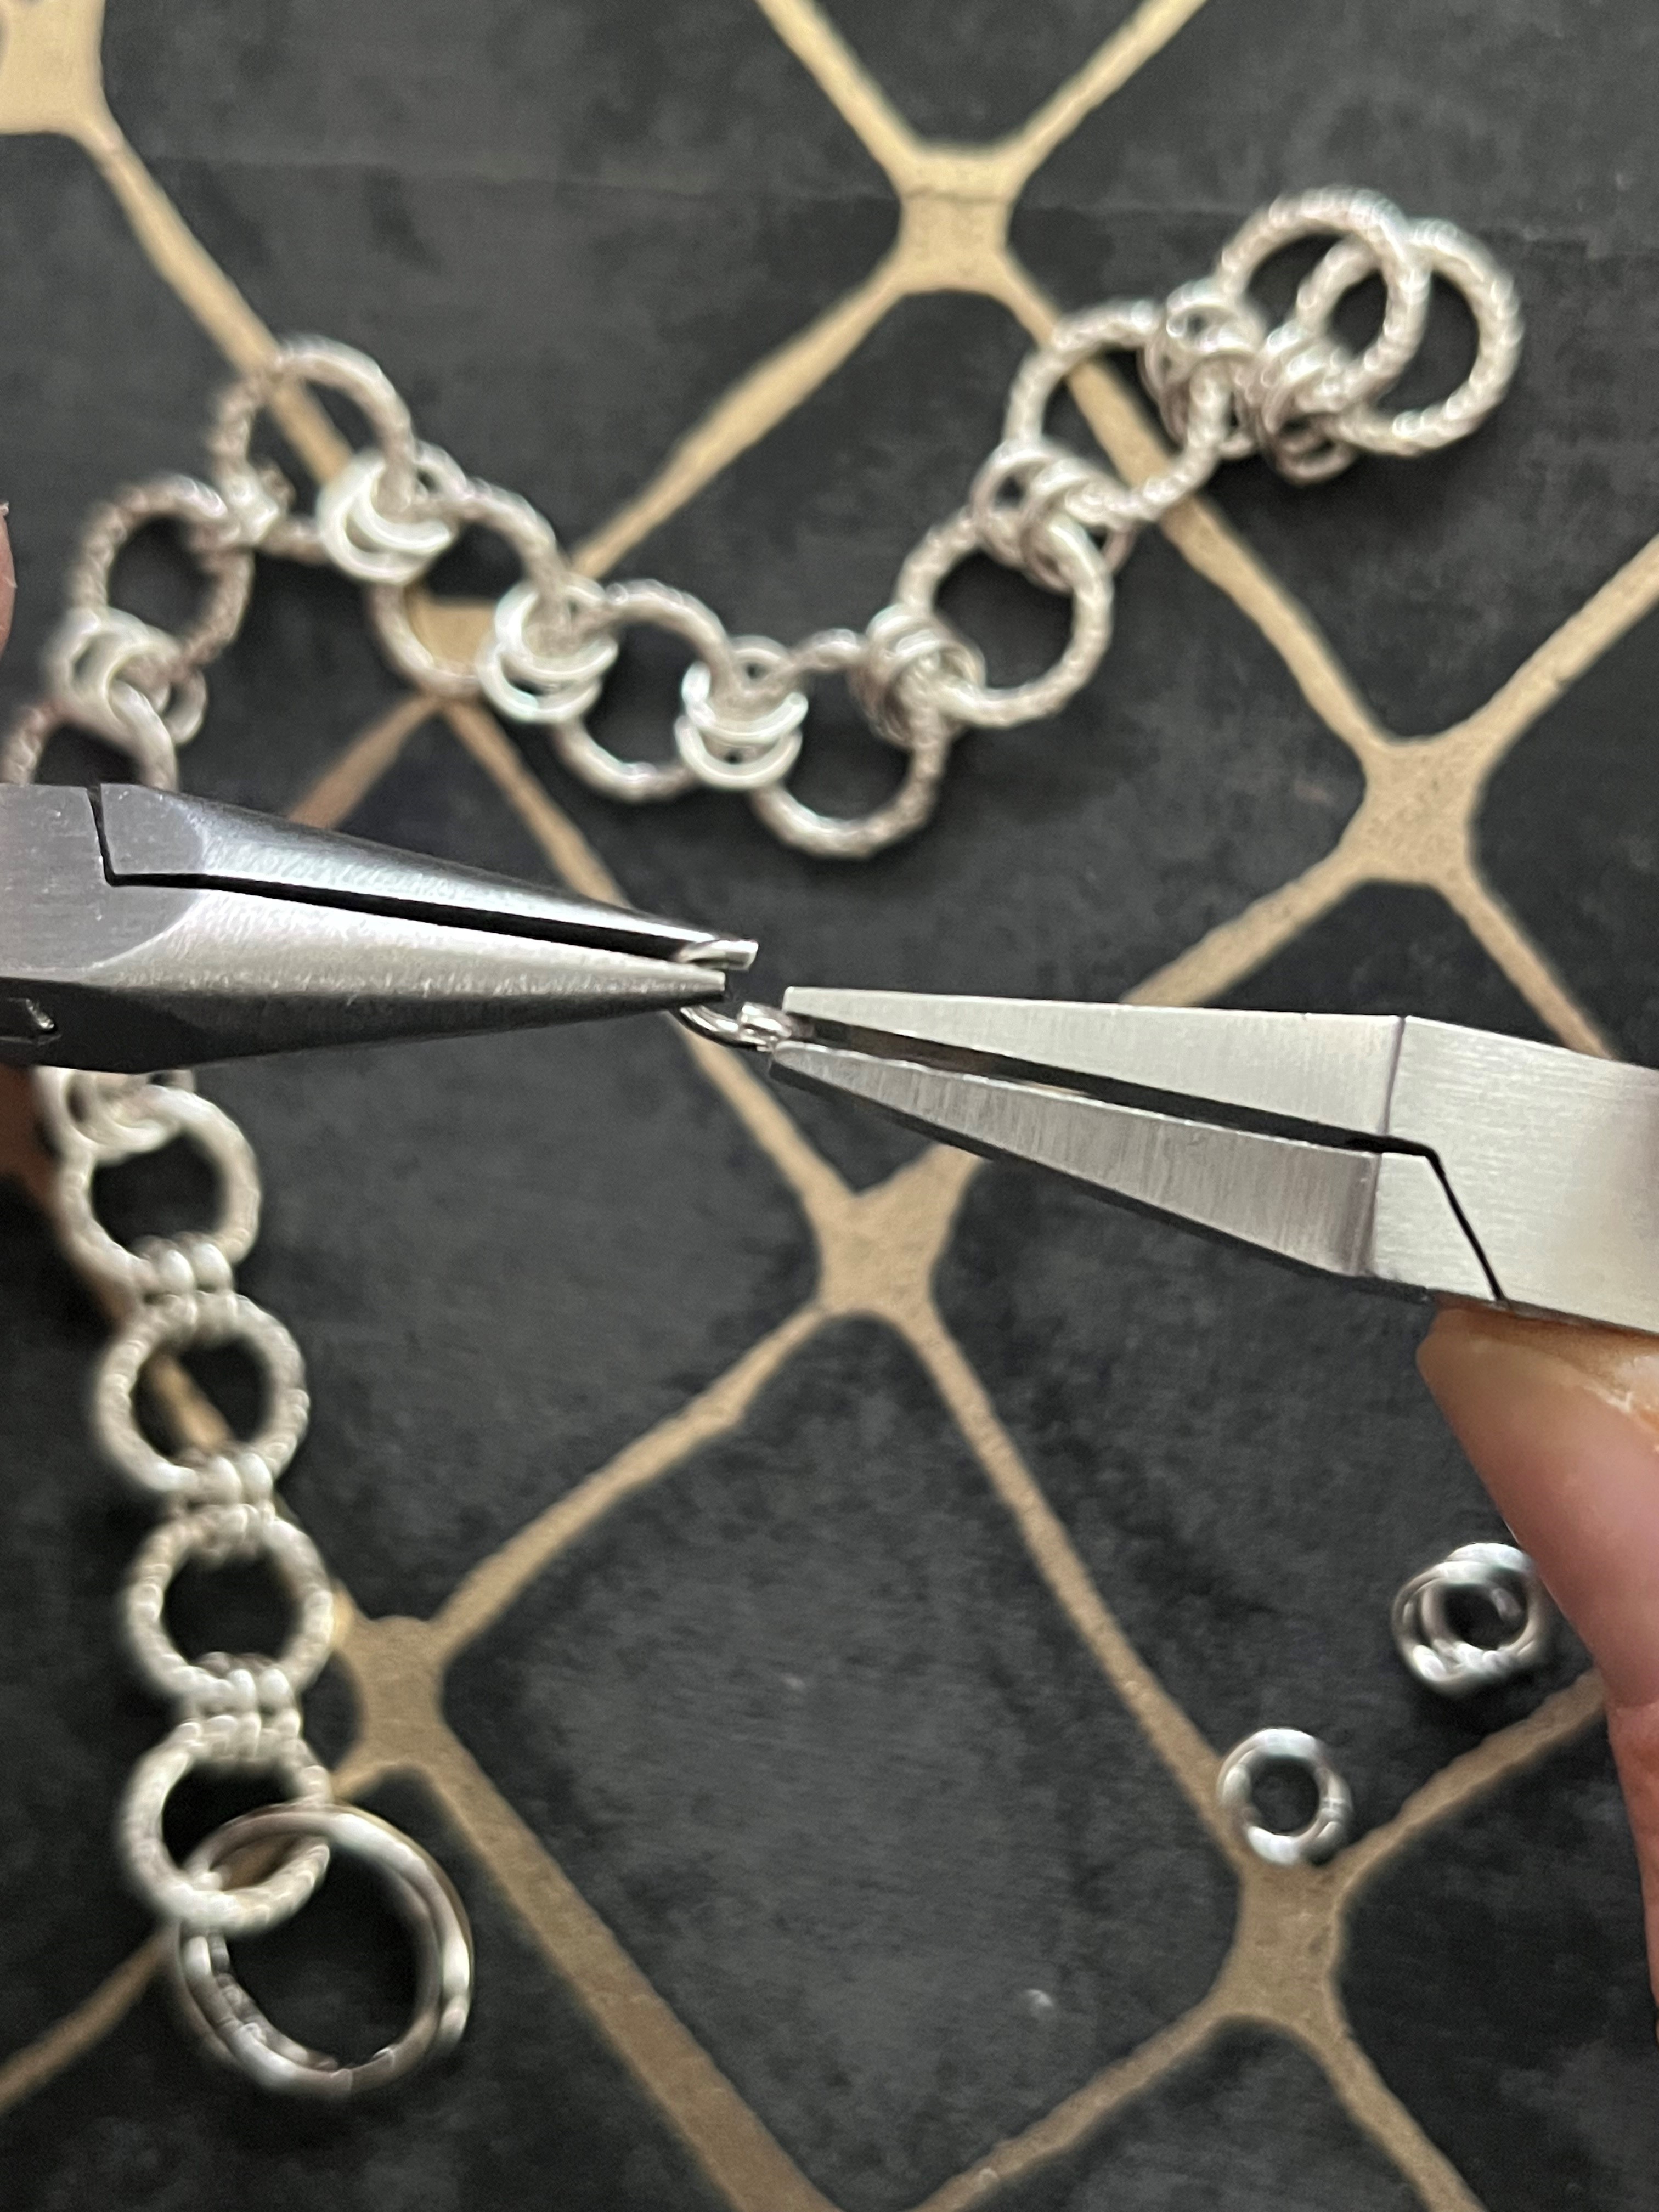
Open a 6mm jump ring by using 2 sets of pliers (snipe, chain or flat nose pliers). Grip one side of the jump ring with 1 pair of pliers and the other side with 2nd pair of pliers. Twist the pliers outwards to open the jump ring and thread on 2 10mm jump rings either side. Close the 6mm jump ring by using 2 sets of pliers (snipe, chain or flat nose pliers). Grip one side of the jump ring with 1 pair of pliers and the other side with 2nd pair of pliers. Twist the pliers inwards to close the jump ring ends together and ensure they meet and stay flush.

Step 6
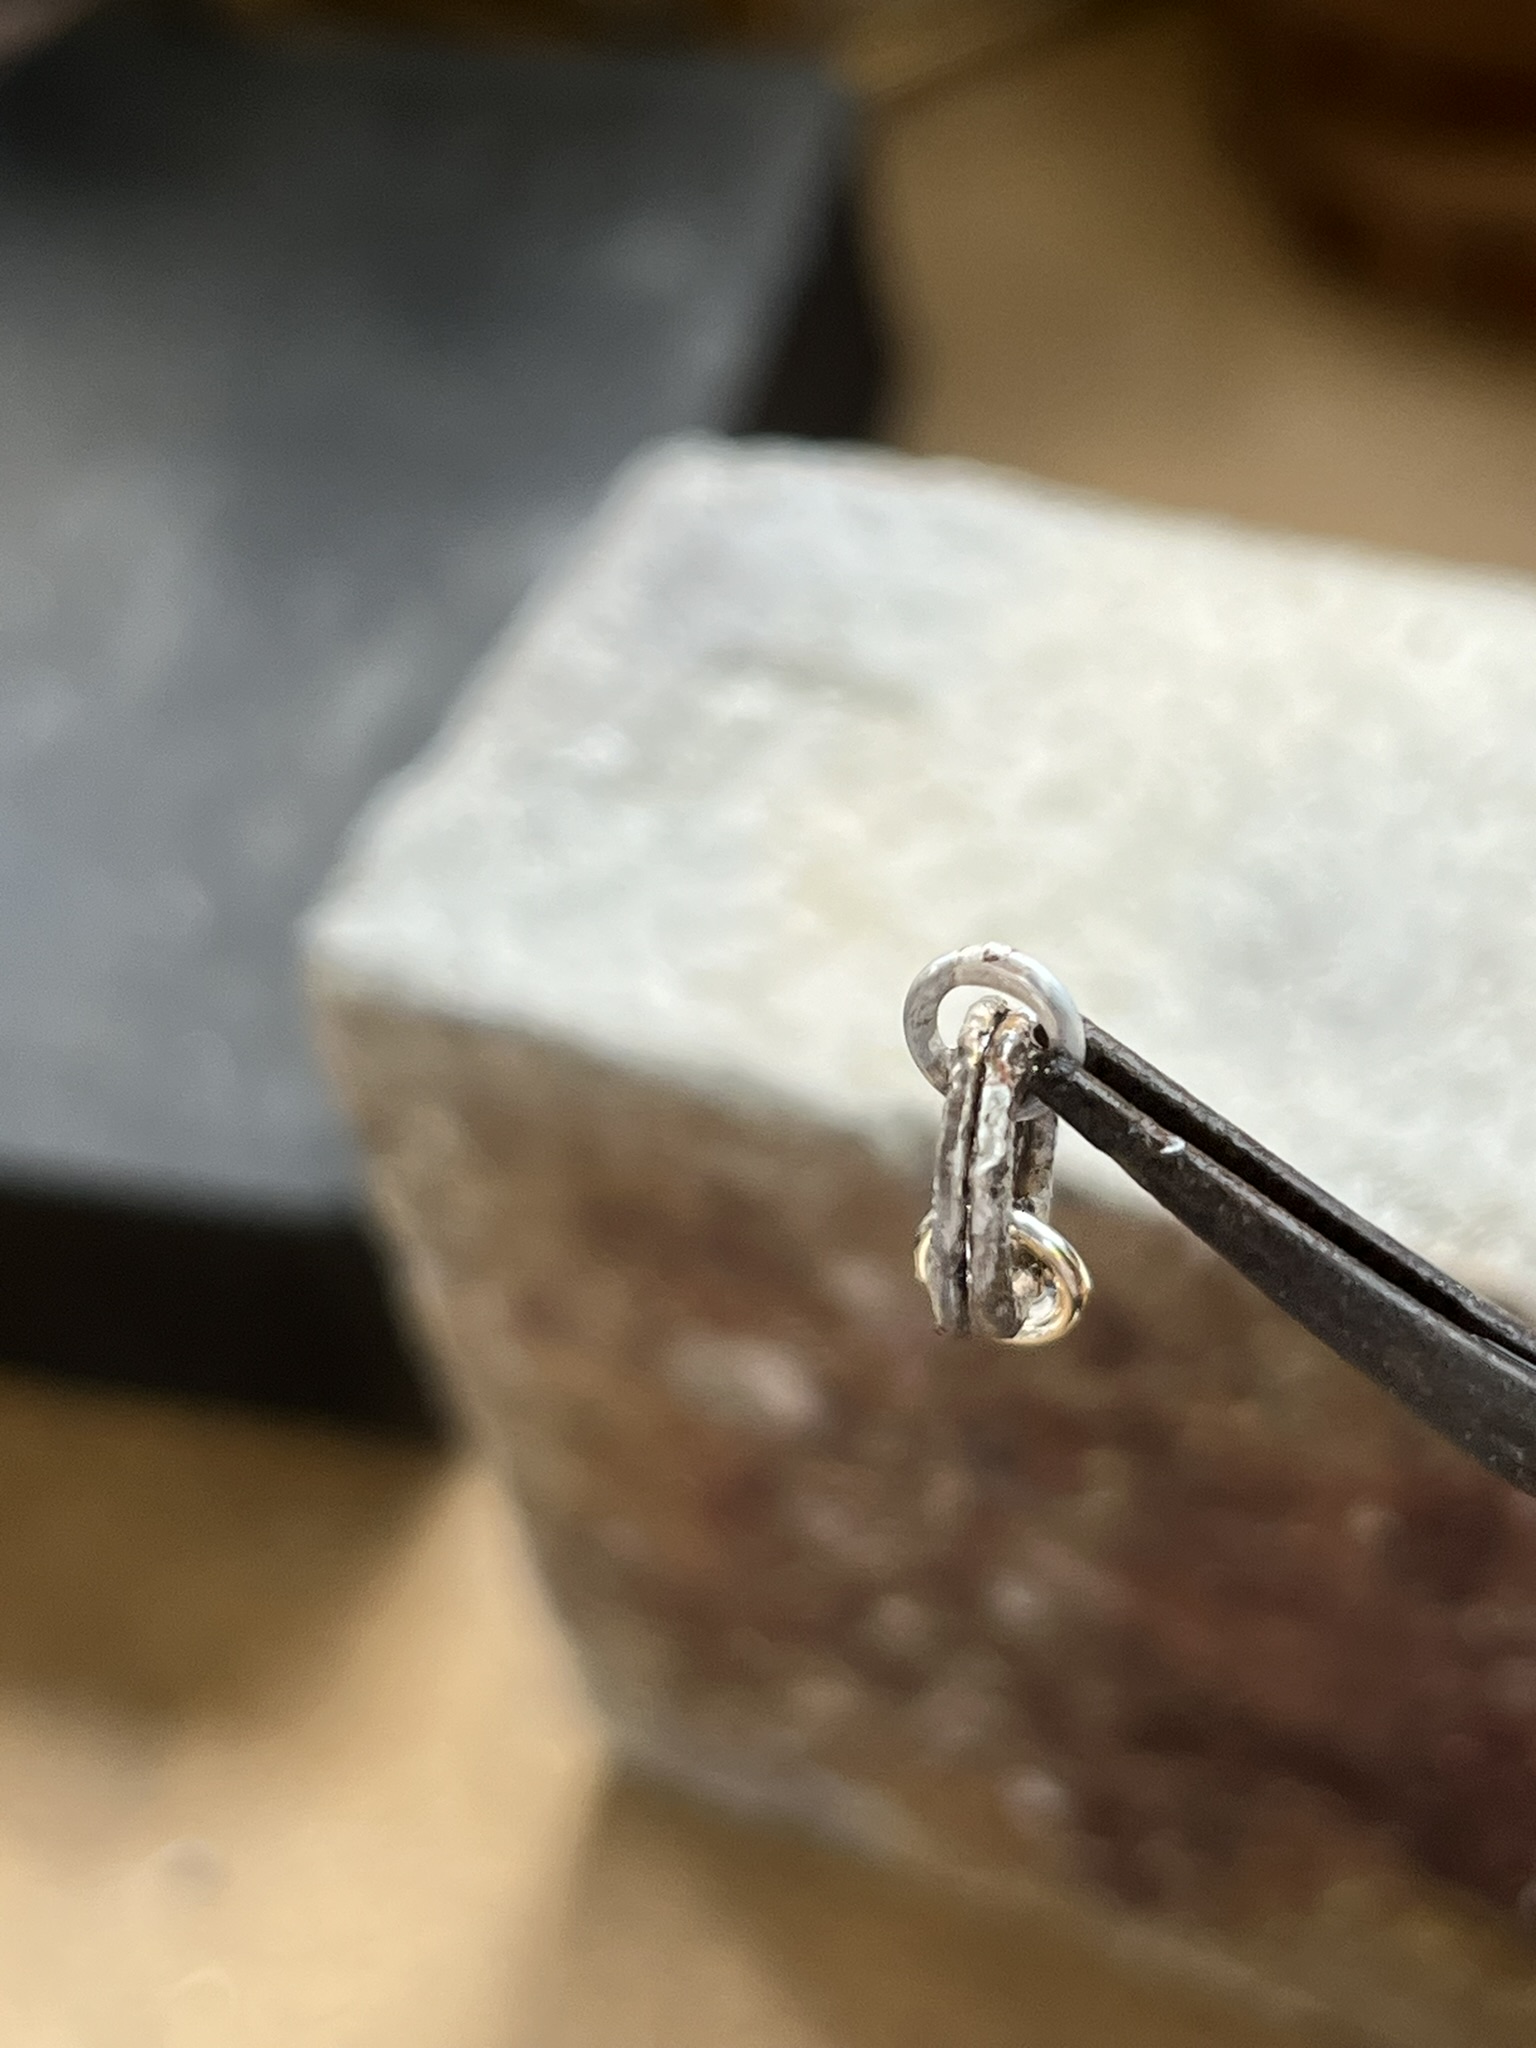
Solder the 6mm jumpring closed by holding the jumpring in reverse actin tweezers in a third hand on a soldering block. Add a small amount of solder paste to each join of the jumpring.
Heat the jump ring evenly using a hand blow torch until the solder melts and flows. Leave the jump ring to cool for 1 minute before individually picking each jump ring up using tweezers, quenching (cooling) in water.

Step 7
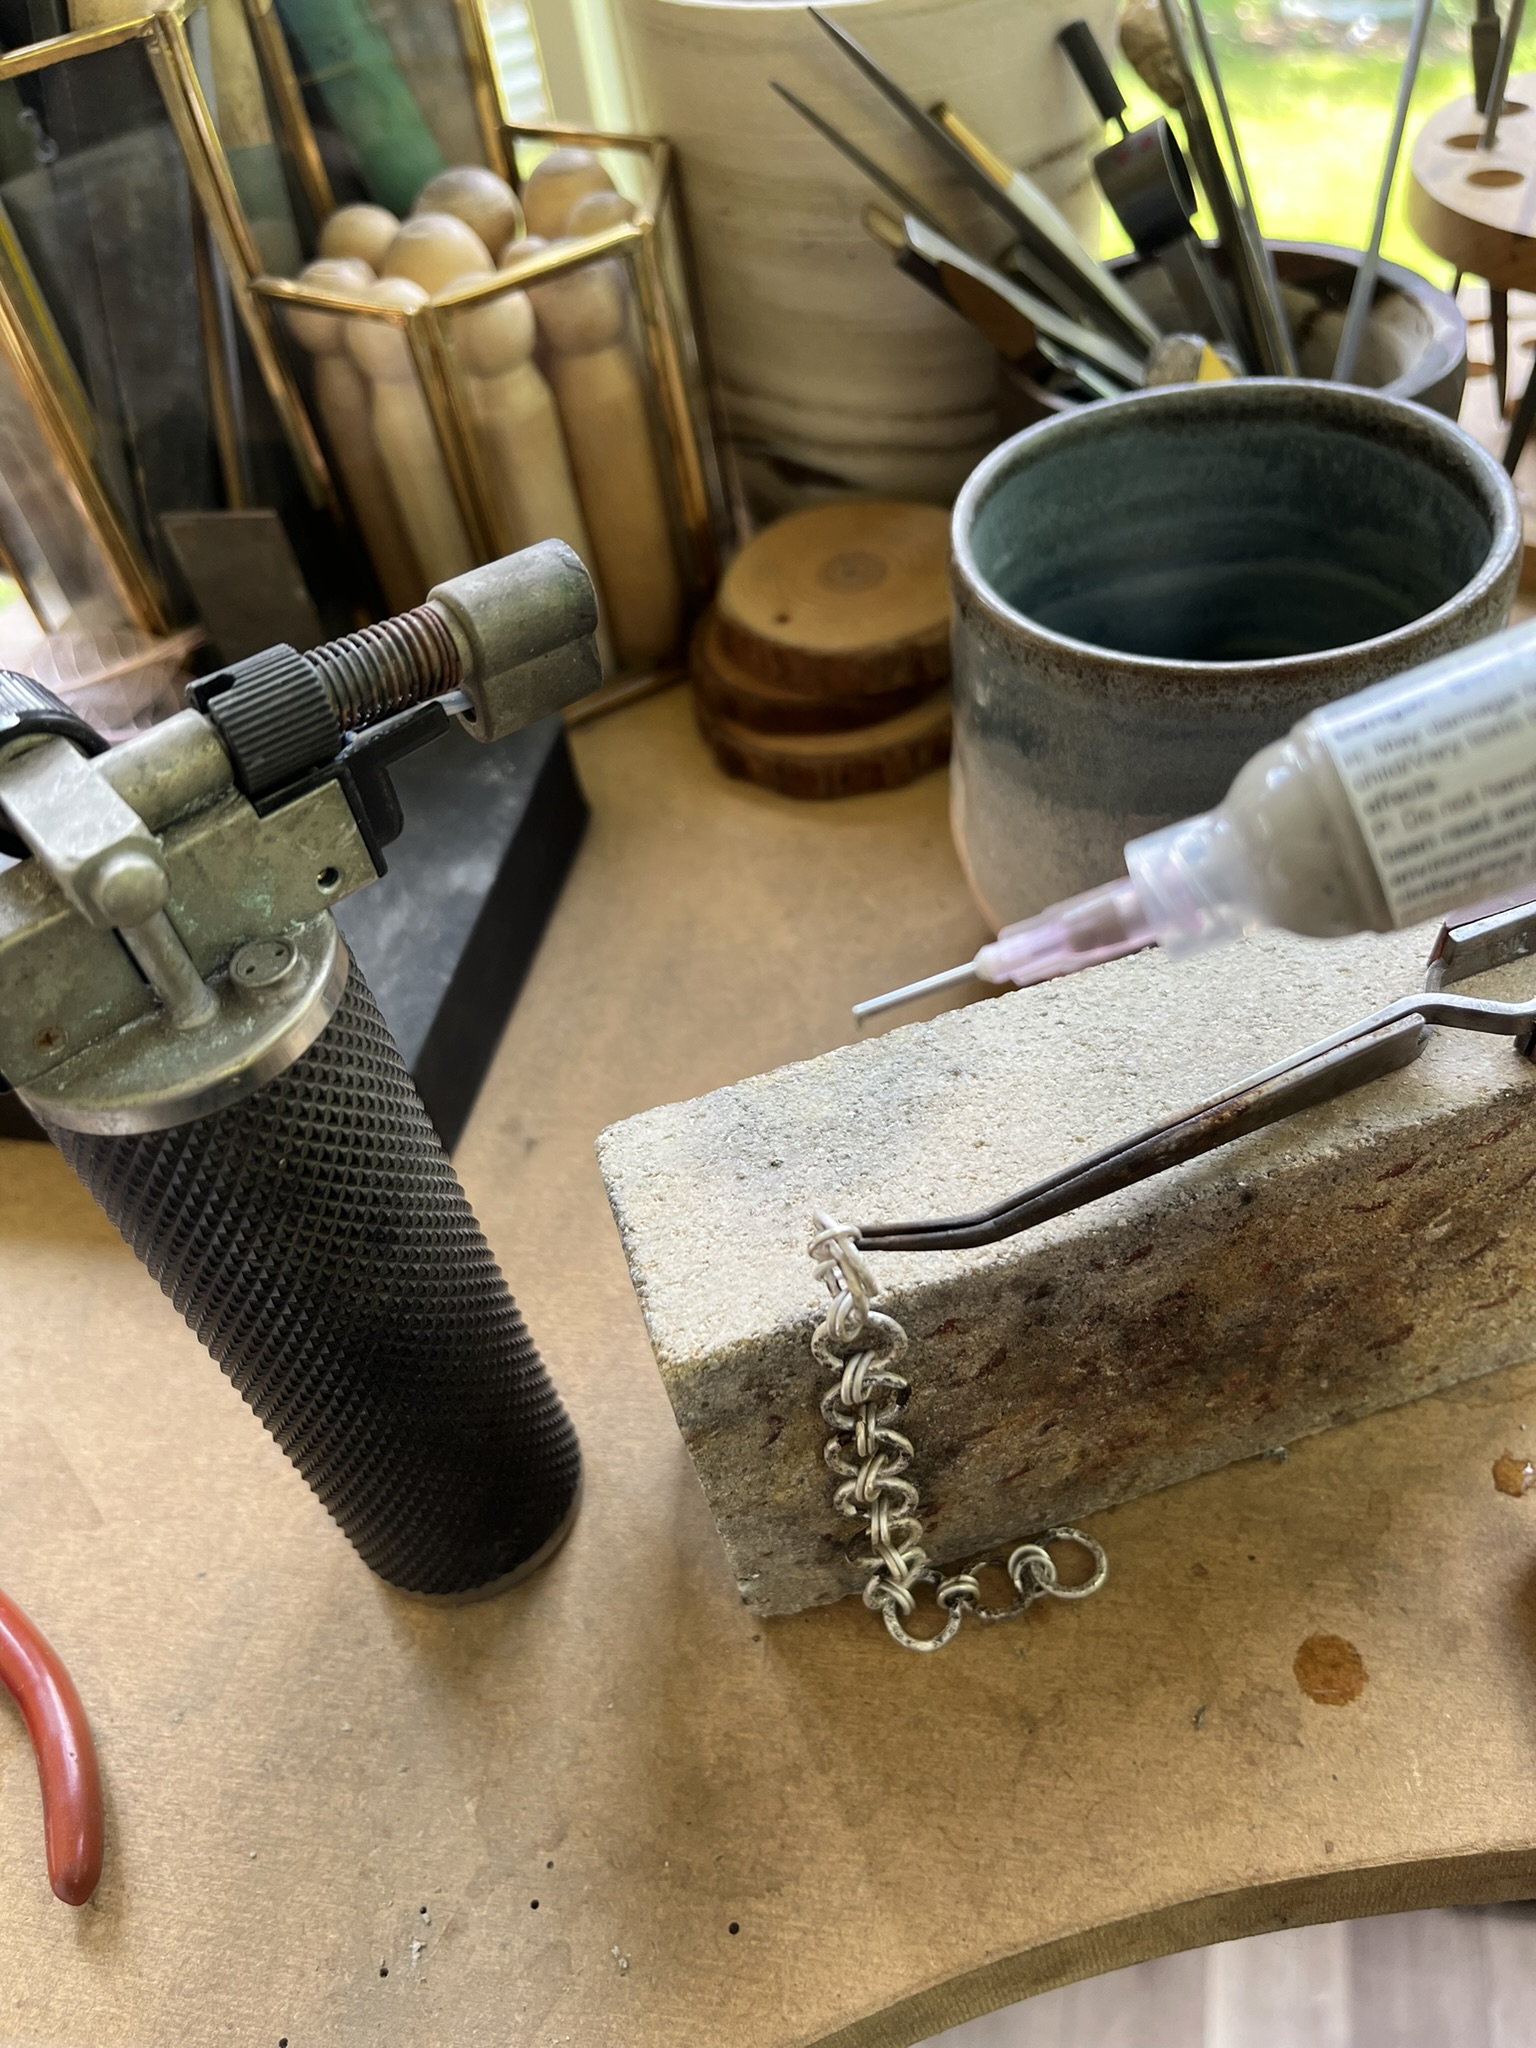
Repeat this process to add a 2nd 6mm jump ring next to 1st 6mm jump ring. This will make a pattern of 2 x 6mm jump rings joining to 1 x 10mm jump ring.
Add and solder shut all 6mm jump rings individually until you have completed a long chain. Add the chain to a warm pickle solution for 10 minutes or until clean. Remove the jump ring from the pickle using plastic tweezers and rinse with water to remove any excess pickle.

Step 8
When clean and dry polish the chain using a barrel polisher with water, barrelbrite and shot or use a polishing cloth. Add the spring gate clasp to complete the bracelet.


Sian Brown
Sian has been hand making her award winning jewellery in the West Midlands for over 12 years. Sian spent 10 years in Birmingham’s historic Jewellery Quarter before relocating to a quiet Worcestershire village.

